Every January and February, the pattern repeats across Long Island: a hard freeze hits, the temperature stays below 20°F for a few nights running, and our phones start ringing on the third morning. A homeowner came home from work to a kitchen flooded from a split supply line behind the sink. Another finds water raining down from a second-floor ceiling because a pipe in an exterior wall froze and let go. According to the American Red Cross and insurance industry data, burst frozen pipes account for roughly 20% of homeowner property damage claims — and the average claim is well into five figures.
The good news is that frozen pipes are largely preventable, and the prevention is cheap. This guide walks through how pipes actually freeze, the specific spots in Long Island homes that fail year after year, what to do before the first hard freeze, what to do during a cold snap, and what to do in the first minutes if a pipe does let go.
Why Frozen Pipes Burst
Water is one of the few substances that expands when it freezes — by about 9% by volume. Inside a closed plumbing system, that expansion has nowhere to go. The pressure builds against the pipe walls and against any closed valves downstream of the freeze. Pipes don't actually burst at the freeze. They burst at the point between the freeze and the closed faucet downstream, where pressure has the most concentration.
This is also why the burst itself is often not the most damaging moment. The pipe splits while it's still frozen. The visible water doesn't appear until the ice thaws — sometimes hours later, sometimes the next day when the temperature rises. That's when homeowners walk in to a flood.
The mechanics matter because they tell you what prevention has to accomplish: keep the water in the pipe moving or warm enough not to freeze. Insulation alone doesn't prevent freezing — it slows heat loss. In severe cold, even insulated pipes can freeze if there's no movement and no heat source nearby.
The Pipes Most Likely to Freeze on Long Island
Per the American Red Cross, the highest-risk plumbing categories are predictable:
- Pipes running through exterior walls. Especially in older Long Island homes where insulation between studs was sparse or has settled. Kitchen sinks on the north side of the house, bathroom plumbing on a corner, and any plumbing on an exterior wall above a porch (which has no heated space below it) are typical failure points.
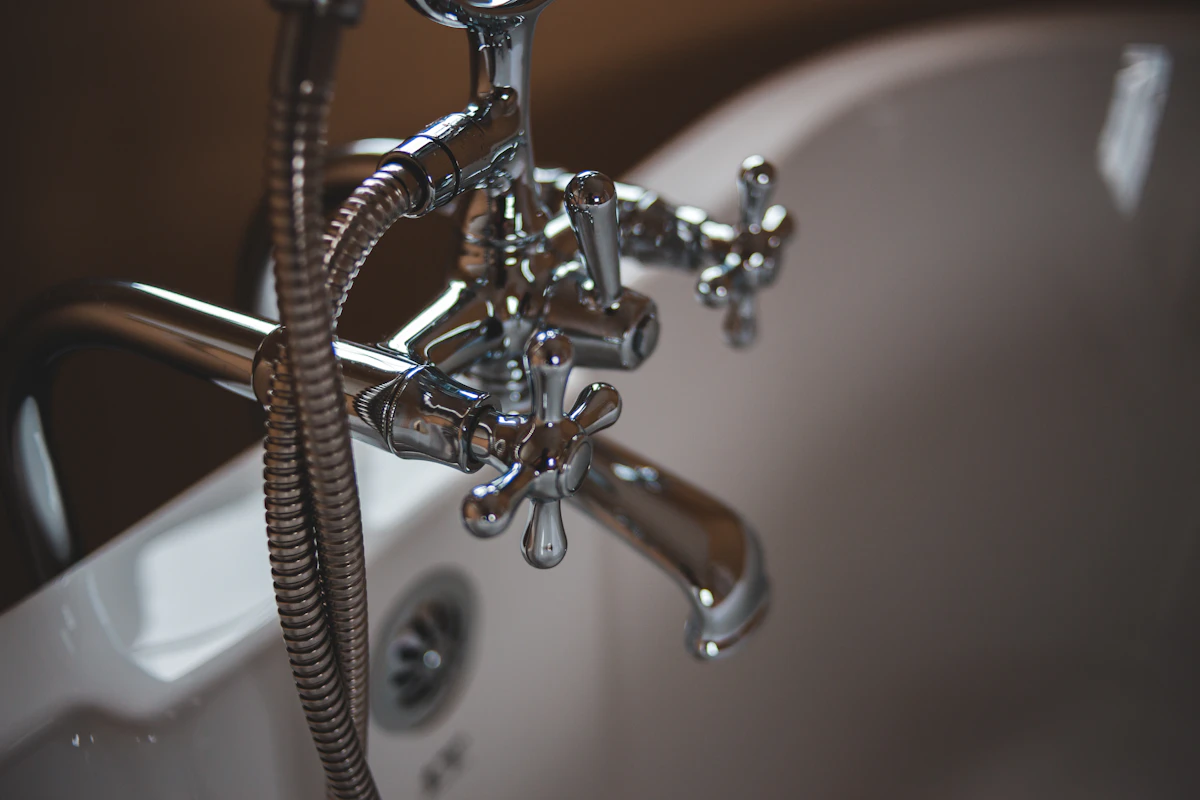
- Outdoor hose bibs (spigots). The supply line from the hose bib runs back into the house through the exterior wall. If the line isn't drained or doesn't have a frost-free design, water trapped in it freezes and splits the pipe inside the wall. You don't know it happened until you turn the hose on in April and water sprays everywhere.
- Basement and crawlspace plumbing near exterior walls or foundation cracks. Unheated basements, partially heated ones with bad insulation, and crawlspaces with vented foundation walls all let cold air reach the pipes.
- Garage plumbing. Garages on Long Island are typically unheated. Any plumbing running through them (often to a laundry room or to outdoor irrigation) is exposed.
- Attic plumbing. Some homes have water lines that go up through closets or chases to second-floor bathrooms via attic space. Attics get very cold; insulation often doesn't cover the pipes themselves.
- Sprinkler and pool supply lines. If they weren't winterized in the fall, they will freeze.
- Vacant homes. Vacation properties, listed houses, and homes where the heat has been shut off or set very low are at the highest risk of all. No occupants means no warm water use, no laundry, no dishwasher running, no warmth being generated inside.
Before the First Cold Snap (October–November Checklist)
The cheapest prevention happens in the fall, before any freeze risk. A few hours of work and a few hundred dollars in materials prevents a five-figure water loss.
Outside the home
- Disconnect and drain all garden hoses. Store them indoors. A connected hose holds water against the inside hose bib valve, which holds water in the pipe, which freezes.
- Shut off the interior valve supplying each outdoor hose bib and open the outdoor spigot to let the line drain. Leave the outdoor spigot open all winter so any residual water can expand without splitting the pipe.
- Install foam hose bib covers if you don't have frost-free spigots. They cost a few dollars each and add meaningful insulation. If your home has older non-frost-free hose bibs, consider having a plumber upgrade them to frost-free models — a one-time $200–$400 cost per spigot that pays for itself the first winter.
- Winterize sprinkler systems. Most Long Island lawn services do this as part of seasonal service; if you DIY, follow the manufacturer's blow-out procedure. Don't use antifreeze in irrigation systems — it's harmful to landscaping, pets, and wildlife.
- Drain and cover pool supply lines per the pool installer's instructions.
- Seal foundation cracks and close any open foundation vents on crawlspaces. Even small openings let cold air reach pipes. Re-open vents in spring to prevent dry rot.
Inside the home
- Insulate exposed pipes in basements, crawlspaces, attics, and garages. Foam pipe sleeves are inexpensive, slide on in minutes, and add an R-value of 3–4. Both hot and cold water lines benefit. Pay particular attention to pipes within a few feet of exterior walls or unheated spaces.
- Consider heat tape on the highest-risk pipes — specifically water lines that run along exterior walls or through unheated spaces where insulation alone isn't enough. Heat tape is a regulated electrical product; install per manufacturer instructions and use only UL-listed products. Never overlap heat tape or run it under additional insulation it's not rated for.
- Locate and label your main water shut-off valve. Make sure every adult in the household knows where it is and how to operate it. A laminated card taped to the wall near the valve helps. In a freeze emergency, the difference between knowing where the valve is and frantically searching for it while water sprays is several thousand dollars of additional damage.
- Check the insulation in any wall cavity with plumbing on an exterior wall. Newer construction usually has this right; older Long Island homes often have gaps or settled insulation. If you can access the cavity (from the attic, an unfinished basement, or by removing a piece of trim), check it before the cold hits.
During a Hard Freeze
When the forecast calls for sustained temperatures below 20°F, especially overnight, take additional steps even if you've done all the fall prep:
- Set the thermostat the same temperature day and night. The Red Cross recommends against setback during cold snaps. The slight increase in your heating bill is far cheaper than a burst pipe. Don't let interior temperatures dip below 65°F during a hard freeze.
- Open cabinet doors under sinks on exterior walls. Lets warm room air circulate around pipes that would otherwise sit in a cold enclosed cabinet. Particularly important for kitchen sinks on north-facing exterior walls and bathroom vanities on exterior walls.
- Let one faucet drip overnight on each affected exterior wall. Slow movement of water through the pipe prevents the kind of static freeze that builds pressure. A cold-water drip is fine; you don't need full flow. The faucet at the end of the longest run (often the farthest bathroom from where service enters the house) is the priority.
- Keep garage doors closed. If there's any plumbing in or near the garage.
- Open interior doors to bedrooms, bathrooms, and other rooms that have plumbing on exterior walls. Helps warm air circulate.
- If you're leaving town during a freeze, set the heat no lower than 55°F, have someone check the house daily if possible, and consider shutting off the main water and draining the system. For longer absences, the latter is the safest option.
Signs a Pipe Is Already Frozen
The first signs of a freeze typically appear at a faucet, not at the pipe itself:
- Only a trickle of water (or none at all) from a faucet. The most common early sign. Particularly diagnostic if it's only happening at one faucet and other faucets in the house work normally.
- Frost visible on an accessible pipe. If you can see the pipe in question (basement, crawlspace, exposed area), white frost on the exterior is unmistakable.
- Strange sounds when you turn on a faucet — gurgling, banging, or whistling. Ice partially blocking the flow.
- A persistent cold spot on a wall or ceiling where you know plumbing runs.
If you suspect a frozen pipe but it hasn't burst yet, the priority is to thaw it before water pressure builds up enough to split it.
How to Safely Thaw a Frozen Pipe
The Red Cross thawing protocol, which is the most widely cited consumer-facing guidance:
- Keep the faucet open. As the pipe thaws, water and steam need somewhere to go. A closed faucet keeps pressure rising.
- Apply gentle heat to the frozen section. Approved methods: an electric heating pad wrapped around the pipe, an electric hair dryer aimed at the pipe, a portable space heater (kept well away from anything flammable), or towels soaked in hot water.
- Work from the faucet end of the pipe toward the frozen section, not the other way around. This gives melted water somewhere to flow as the thaw progresses.
- Continue applying heat until full water pressure returns. Don't stop at the first trickle — stop when the flow is normal.
- Check other faucets. If one pipe froze, others on the same run probably did too.
Never use an open flame — a propane torch, kerosene heater, or any other open flame — to thaw a frozen pipe. Fire risk is high, and you can damage pipe joints or solder. The Red Cross specifically warns against this. If a pipe is in a location you can't safely reach with electric heat, call a licensed plumber.
If you can't locate the frozen section, can't safely reach it, or the pipe doesn't thaw within an hour of applied heat, call a plumber. Don't keep escalating heat — you can damage the pipe.
If a Pipe Has Already Burst
The protocol changes if water is actively flowing. The first 30 minutes determine how much of your home you'll save. The full step-by-step is in our companion article on what to do in the first 30 minutes after a pipe bursts, but the short version:
- Shut off the water at the main valve. Every gallon that keeps flowing makes the damage worse.
- Address electricity safely. If water has reached outlets or appliances, don't enter the area — call the utility to cut power at the meter.
- Photograph everything before cleaning anything. Insurance documentation matters from minute one.
- Move undamaged contents away from the water. Mop or wet-vac standing water if you have the equipment.
- Call your insurance carrier the same day to file the claim.
- Call a restoration company. Mitigation has to start within 24–48 hours per the IICRC S500 standard to prevent mold growth.
- Call a plumber to repair the actual pipe. Restoration and plumbing are separate jobs; both happen in parallel.
Long Island Specifics
Two patterns make Long Island distinctive when it comes to frozen pipes:
The first hard freeze of the season is the most dangerous. Pipes that haven't experienced low temperatures since the previous winter, on systems that haven't been pressure-cycled in 8–9 months, in homes where fall prep was deferred — that combination is statistically responsible for the largest share of burst-pipe calls we respond to. The pipes that survive the first hard freeze typically survive the rest of the winter. The week of January 15–30 is the historical peak.
South-shore and ocean-facing homes face worse exposure. Wind off the water in winter drives wind chills well below ambient temperatures. Homes on exposed lots, beachfront properties, and homes with limited windbreaks lose heat faster from exterior walls than inland homes at the same actual temperature. South-shore Nassau and Suffolk homes, in particular, need more aggressive pipe protection than the same construction would need ten miles inland.
Older homes — pre-1970, especially — warrant special attention. Original galvanized supply lines, settled wall-cavity insulation, and exterior walls without modern air sealing are all conditions that raise freeze risk. If you're in an older home, the time to address these isn't during a cold snap — it's during a fall renovation or a summer-shoulder inspection.
The cheapest insurance for a $20,000 water loss is $40 of pipe insulation and a free hour in October.
The Bottom Line
Pipe freeze prevention comes down to three things: keep cold air away from pipes (insulation, sealed cavities, closed vents), keep some warmth available to pipes (heat at temperature, open cabinets, garage doors closed), and keep water moving during the coldest nights (drip a faucet, run dishwasher and laundry intermittently). Get those right, and the worst Long Island winter doesn't end with a burst pipe.
If a pipe has already burst and you need emergency response right now, our certified crews are dispatched 24/7 across Long Island and NYC. Call (631) 388-0455 while you're working through the shut-off steps. We can have a crew on the way before you finish the call.
Sources & References
- American Red Cross. Preventing & Thawing Frozen Pipes. redcross.org/get-help/how-to-prepare-for-emergencies/types-of-emergencies/winter-storm/frozen-pipes — consensus prevention and thawing protocol.
- IICRC. ANSI/IICRC S500 Standard for Professional Water Damage Restoration. iicrc.org/s500 — standard for water damage mitigation after a burst event.
- Ready.gov. Winter Weather Preparedness. ready.gov/winter-weather — federal guidance on home preparation for cold weather.
- National Weather Service. Cold Weather Safety. weather.gov/safety/cold — wind chill and freeze-risk forecasting.
- FEMA. National Flood Insurance Program. fema.gov/flood-insurance — coverage distinctions between sudden internal water damage (homeowners) and rising-water flood (NFIP).