A burst plumbing supply line at typical residential pressure can release more than 100 gallons of water per hour — enough to saturate drywall, soak insulation, and reach a finished basement before most homeowners have even located the shut-off valve. What you do in the first 30 minutes after the failure has more impact on the total cost of the loss than anything a restoration crew can do once they arrive.
This guide walks you through that half hour in order — what to do first, what to skip, and how to set up your insurance claim before any cleanup begins. It's written for homeowners on Long Island and across the NYC metro who've never been through a water emergency before. If you're reading this during an active leak, scroll to the numbered steps and call us at (631) 388-0455 while you work through them.
Why the First 30 Minutes Matter
Water damage is not a static event. From the moment a pipe lets go, three things start happening at once: water spreads horizontally across floors and downward through ceilings, porous materials like drywall and insulation begin wicking moisture upward, and the conditions that allow mold to start growing are established. The ANSI/IICRC S500 Water Damage Restoration Standard — the document professional restoration crews work from — is built around the principle that the speed of the response directly determines the scope of the repair.
Mold spores need moisture, organic material, and time. Drywall, wood framing, and insulation supply the organic material; a burst pipe supplies the moisture; and the clock starts immediately. Industry guidance generally treats 24 to 48 hours as the window before mold growth becomes a probability rather than a possibility on saturated porous materials.
The other reason the first 30 minutes matter is insurance. Most homeowner policies require you to take reasonable steps to prevent further damage — this is called your duty to mitigate. If your basement floods because a pipe burst, that's covered. If it then keeps flooding for six more hours because nobody shut the water off, the additional damage may not be. The faster you act, the easier the claim is to defend later.
Step 1 — Shut Off the Water (Minutes 0–3)
Nothing else matters until the water stops. Every gallon that keeps flowing extends the area that needs to dry, increases the damage to materials, and increases the eventual cost of the restoration.
Find your main shut-off valve
In most Long Island homes built after 1950, the main shut-off valve is one of the following:
- Inside, near where the water service enters the house — typically the basement or crawlspace, on the wall facing the street. Look for a pipe coming up out of the floor with a valve near the meter.
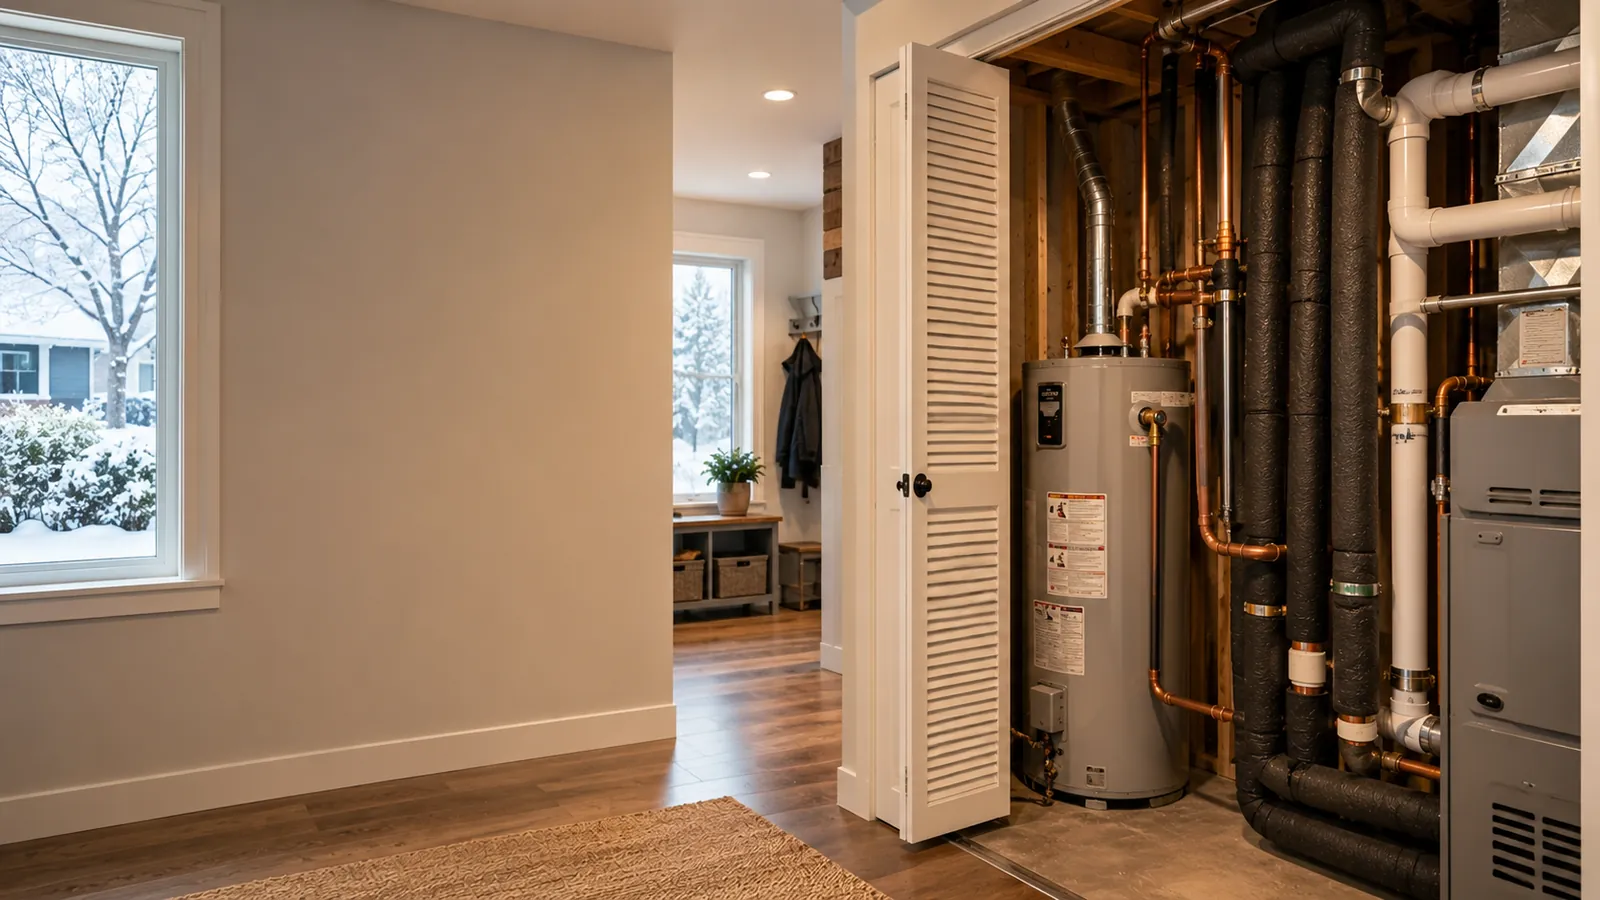
- Near the water heater or boiler — common in slab-on-grade homes without basements.
- In a utility room or garage — less common, but found in some newer construction.
- At the curb stop in the street — a buried valve under a small metal cover near the property line. This is the water utility's shut-off and requires a curb key (a long T-handle tool) to operate. If you can't find an interior valve, this is your fallback.
If you have well water rather than municipal service, the shut-off is usually next to the pressure tank in the basement or utility room.
Turn it the right direction
There are two valve types you'll commonly encounter:
- Ball valve — a lever handle. Turn it 90 degrees so the handle is perpendicular to the pipe. That's off.
- Gate valve — a round wheel handle. Turn it clockwise. It may take several full rotations to fully close. If it's stiff, don't force it past its natural stop — older gate valves can break internally.
If the valve is stuck or you can't reach it: call your water utility's emergency line. On Long Island, that's the Suffolk County Water Authority for most Suffolk addresses and a mix of public and private utilities (American Water, Liberty Water, Aqua) across Nassau. They can shut off your service at the curb if you can't.
Once the main is closed, open a few cold-water faucets at the lowest point in the house (often a basement laundry sink) to let pressurized water drain out of the pipes. This stops the active leak even if you can't immediately get to the burst location itself.
Step 2 — Handle Electricity Safely (Minutes 3–6)
Water and electricity together create a real shock hazard, and this is the step most homeowners get wrong — either by ignoring it or by approaching it unsafely. Two rules:
- If standing water has reached any electrical outlets, appliances, or the electrical panel itself, do not enter the area. Stay clear and call your utility (PSEG Long Island for most of Long Island, or Con Edison in NYC) to cut power at the meter.
- If the panel is dry and accessible from outside the wet area, kill the breakers feeding the affected rooms before you walk into them. Don't shut off the main breaker if doing so means losing power to your sump pump — if you have a sump-pump-protected basement and the panel is dry, isolate the affected circuits only.
If you smell anything burning or hear arcing, treat it as a true emergency, evacuate, and call 911 from outside the building.
Step 3 — Document Before You Clean (Minutes 6–15)
This is the step most homeowners skip, and the one that has the biggest impact on what your insurance carrier eventually pays out. Before you move a single soaked rug or piece of furniture, photograph everything.
What to capture
- The source of the leak. Get clear photos of the burst pipe or fitting itself, from multiple angles, with the water still visible if it hasn't fully drained.
- The full extent of the wet area. Wide shots showing how far water has traveled. Photograph every room or surface where water has reached — floors, walls (especially the lower 12–24 inches), ceilings below the source, and any baseboards or trim showing staining.
- Affected contents. Furniture, electronics, area rugs, stored items, anything that took on water. For damaged appliances or electronics, photograph the model number and serial plate — these matter for replacement valuations.
- Pre-existing context. If you have phone photos of the rooms from before the loss (holiday photos, real estate listings, anything), save them. They establish that the space was finished and the items were present before the event.
Video helps too. A slow walk-through narrating what you're seeing — "the water came down through this ceiling and across this hardwood floor" — gives an adjuster context that still photos alone can't.
Why this matters for your claim: Insurance carriers expect documentation that shows the cause and the scope of damage at the time of loss — not after cleanup. Damage that isn't captured at the start is much harder to add to a claim later, and adjusters may attribute it to pre-existing conditions if there's no record otherwise.
Step 4 — Start Mitigation You Can Safely Do (Minutes 15–25)
With the water off, the power addressed, and the damage documented, the next step is to limit further damage with whatever you have on hand. The goal here isn't to dry the structure — that requires industrial equipment — it's to stop the migration of water into things that can still be saved.
- Move undamaged contents out. Lift furniture off wet flooring (sliding a piece of cardboard or foil under the legs prevents stain transfer from finishes). Get anything porous and valuable — books, documents, electronics, art — out of the affected rooms entirely.
- Pull up area rugs. Wet wool and natural-fiber rugs will permanently dye or stain hardwood underneath within hours. Get them off the floor and laid flat somewhere dry if possible.
- Mop or wet-vacuum standing water. If you have a wet/dry shop vac, use it. A regular vacuum will not handle water and will likely destroy the motor. If you don't have a wet vac, towels and mops are slow but effective for surface water.
- Open windows if outdoor humidity is lower than indoor. Cross-ventilation helps. Skip this if it's a humid summer day — you'll add moisture rather than remove it.
- Save anything you remove for the adjuster. Don't throw away damaged carpet padding, baseboards, or contents until your insurance carrier or the restoration company has had a chance to inspect them. If you must remove them for safety, photograph them and bag them somewhere accessible.
What not to do
- Don't try to dry drywall, framing, or subflooring with household fans. Box fans move surface air but can't pull moisture out of wall cavities or below floors. Without dehumidification, fans can actually spread moisture deeper into the structure.
- Don't apply bleach or cleaners to wet drywall. They don't kill mold inside porous material and can complicate the cleanup later.
- Don't enter standing water if it came from sewage, a toilet overflow with solids, or a basement flood that's been sitting more than 24 hours. Under the IICRC S500 standard, water is classified by contamination level: Category 1 is clean water from a supply line, Category 2 is "grey" water with significant contamination (dishwasher overflow, washing machine discharge), and Category 3 is "black" water that's grossly contaminated (sewage, flood water, water that's been sitting long enough for microbial growth). Categories 2 and 3 require protective equipment and specialized cleaning — not a DIY job.
Step 5 — Call the Right People in the Right Order (Minutes 25–30)
Once the immediate work is done, two calls need to happen and the order matters.
Call your insurance carrier
Almost every policy requires "prompt notification" of a loss — some specify within 24 hours, others use vaguer language, but the safer rule is to call the same day. You don't need to have a damage estimate or know what your deductible is yet. Just file the claim. You'll get a claim number, and an adjuster will be assigned to schedule an inspection.
Stick to facts during this call. Describe what happened (a pipe burst), when you discovered it, what's affected, and what steps you've taken. Don't speculate about cause or estimate damage amounts. The phrase you want to use is "sudden and accidental" — that's the contract language that distinguishes a covered event from a gradual leak (which most policies exclude).
Call a restoration company
Then call a restoration company — ideally an IICRC-certified one that can deploy structural drying equipment within hours, not days. The right company will:
- Arrive on-site within roughly 60 to 90 minutes for active losses on Long Island.
- Use moisture meters and thermal imaging to map the full extent of water migration — including into wall cavities and under flooring where you can't see it.
- Set industrial air movers and dehumidifiers based on the size and class of the loss, not guesswork.
- Document daily moisture readings in a drying log — the same format adjusters work with.
- Coordinate directly with your insurance adjuster so you're not playing translator between two parties using different vocabularies.
The faster the drying starts, the less of your home needs to be removed. Drywall and insulation that are dry within 24 to 48 hours can often be saved. Beyond that window, they typically can't.
What Not to Do — The Mistakes That Cost the Most
A few common mistakes during the first half hour create most of the avoidable cost in a water loss:
- Waiting "to see if it gets worse" before calling anyone. It will. Water doesn't slow down on its own.
- Not photographing the damage before cleanup. The biggest single avoidable cost in a denied or underpaid claim.
- Throwing away damaged materials before the adjuster inspects them. If you must remove them for safety, bag and label them.
- Hiring the first restoration company that knocks on the door uninvited. "Storm-chasing" contractors monitor 911 dispatch and show up at active losses. The legitimate ones don't.
- Signing a "direction to pay" or assignment of benefits without reading it. Some unscrupulous contractors use these to take over your claim and bill the carrier directly. You're the one whose name is on the policy — you should stay in control of the claim.
- Trying to dry it yourself with fans for a few days and "see how it goes." By day three, mold growth is already happening inside walls. The cost of professional drying on day one is a fraction of the cost of mold remediation on day five.
A Note for Long Island Homeowners
Pipe bursts are seasonal on Long Island. The pattern repeats every January and February: an exterior wall pipe (often in a kitchen on the north side of the house, or a hose-bib supply line in an unheated garage) freezes during a cold snap, expands, splits, and then thaws and lets go. When the homeowner gets home from work, the kitchen and the basement below it are flooded.
If you live in an older home — especially anything pre-1970 with copper or galvanized supply lines — it's worth taking 10 minutes to find your shut-off valve before you ever need it. Make sure everyone in the household knows where it is and how to turn it off. A label or laminated card taped near the valve helps. The difference between knowing where the valve is and frantically searching for it while water sprays across your kitchen is several thousand dollars of additional damage.
The Bottom Line
The first 30 minutes after a burst pipe come down to five things, in order: stop the water, address electricity safely, document before you clean, mitigate what you can without overdoing it, and then make the right calls in the right sequence. Done well, those 30 minutes turn a potential disaster into a recoverable loss.
If you're in the middle of one right now on Long Island or in the NYC metro, our crews are dispatched 24/7. Call (631) 388-0455 and we can talk you through the immediate steps while a crew is on the way.
Sources & References
- IICRC. ANSI/IICRC S500 Standard for Professional Water Damage Restoration. iicrc.org/s500 — industry standard defining water damage categories and restoration procedures.
- New York City Office of Emergency Management. Ready New York — Insurance & Flood Coverage. nyc.gov/site/em/ready/renters-and-flood-insurance.page — flood vs. homeowner's coverage in the NYC metro.
- FEMA. National Flood Insurance Program. fema.gov/flood-insurance — the distinction between sudden internal water damage (covered by homeowners) and rising water (requires NFIP).
- EPA. Mold Course — Chapter 2: Why and Where Mold Grows. epa.gov/mold/mold-course-chapter-2 — 24- to 48-hour mold growth window on saturated porous materials.
- New York State Department of Financial Services. Understanding Your Homeowners Insurance Policy. dfs.ny.gov/consumers/help_for_homeowners/insurance — policyholder duties including prompt notice and mitigation.